Winter centrepiece how-to

Yes, a beautiful centrepiece can be as easy as 1, 2, 3 ... really!
Here’s the how-to for a winter arrangement that’s easily adaptable for your colour and flower preferences.
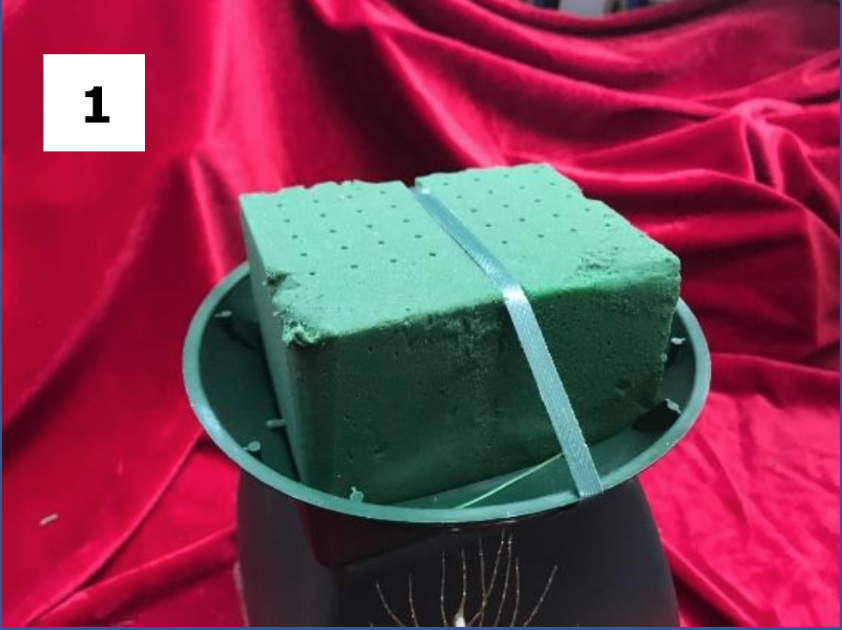
1. Soak a block of oasis in water mixed with floral preservative. To prevent air bubbles, don’t push down the oasis, but allow it to soak up the water on its own.
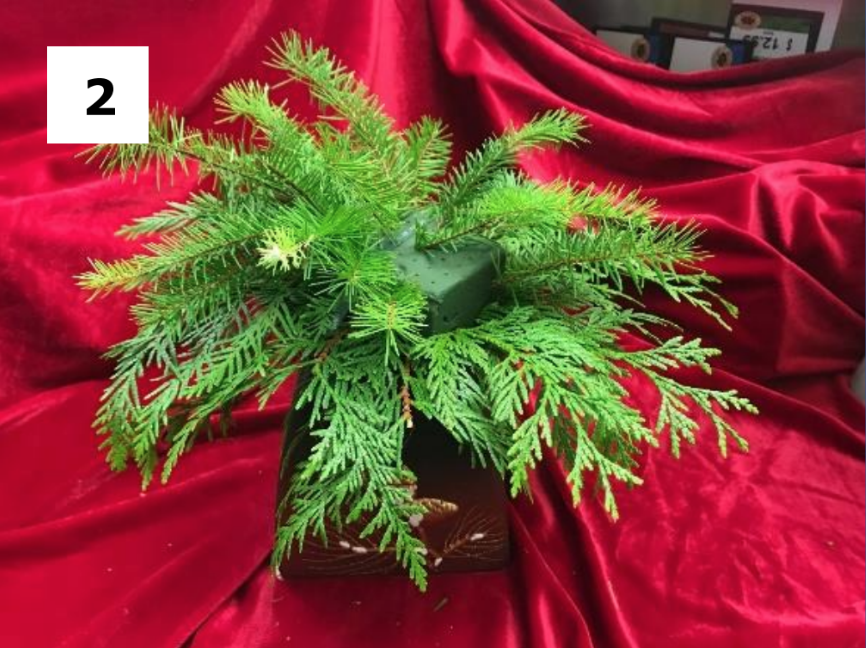
2. Position oasis in your container and insert your base greens around the lower edge. Cedar works well here as it’s flat. Add some fuller greens next, like fir or pine, adding texture and building height, to a max of about 9 inches.

3. Leaving a little space for the watering can, add a few accent pieces, like holly, Oregon grape, eucalyptus, sage or rosemary — whatever you like and have in the garden. The bonus is you’ll enjoy a variety of inexpensive, easily accessible greens that add a wonderful scent to your home. Salal is another option that happily accepts glitter or paint for some extra sparkle.
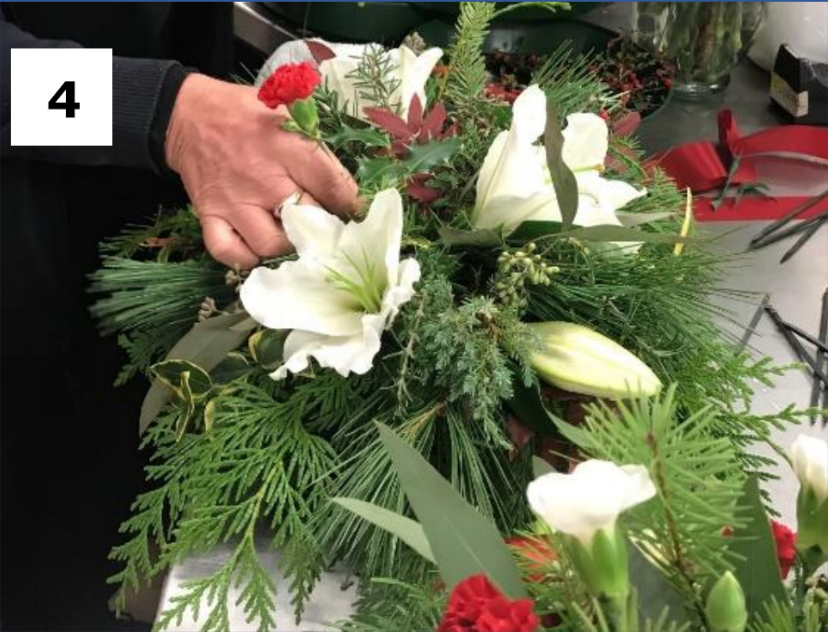
4. Begin adding your flowers, inserting each stem to the desired depth and leaving it there. (Pulling it out or back creates air pockets.)
Start with the larger flowers, positioning them in triangles around the arrangement, and then add the smaller flowers. Here we used a few lilies, long-lasting mini carnations and a sprig of daisies.

5. Top with a bow or a few berries, if desired, and enjoy!
Using quality, local greenery and flowers will help ensure you have an arrangement that lasts, but try to keep it in a cooler location and remember to add water every few days.
– Thank you to Country Grocer for the flowersand greenery for the photos